
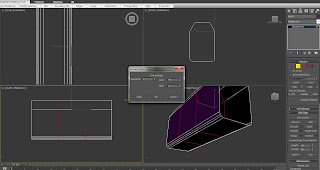
My current work in progress is a surface-to-air missile launcher.
This model has been a touch more technical than my previous ones, however once you've got the tool usage figured then its just quite a lot of rinsing and repeating, loop and ring functions to get the desired effect looking as close as possible to the reference image as possible.
Starting with a box, extrude and scaling the top polygons to get a close approximation of the right shape. Then using the connect edges function to pinch the edges together so I have some faces to bevel and chamfer later on.
Then inserting the polygo
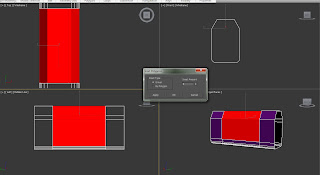 ns on the mid area so I can bevel, move and scale to copy the look as well as I can. As I mentioned before this isn't too difficult if you have a handle on the tool that you have but it can get technical and fairly fiddly with a lot of trial and error to get the shape you are looking for.
Since it can be a bit time consuming, depending on your preferences it may be easier to work on just one side at a time so I decided to delete one half and j
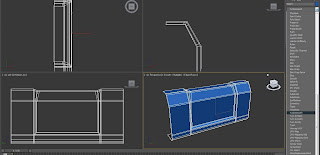 ust work on a single side, this prevents potential problems later on with artifacts/artifacting.
Adding turbosmooth, with 2 iterations will give you a idea of what the body of the model will look like since i'll be keeping the turbosmooth setting until the end adding them to the overall final model.
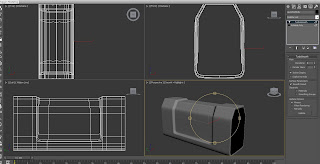
For instance, when I mirrored the side I was working on, when turbosmoothed it produced a smoothed whole model whereas when I done it with just the model normally it produced quite a few artifacts which causes untold problems later on.
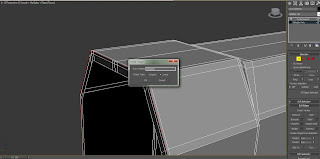
After selecting the outer edge of the model I then had to use create shape since I would be using this part as a front missile plate. It would be helpful to make this the only thing visible, so hide unselected then on to making the front plate using the newly created shape as a outline.
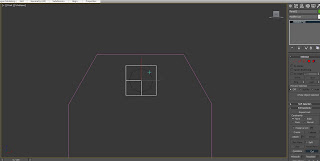
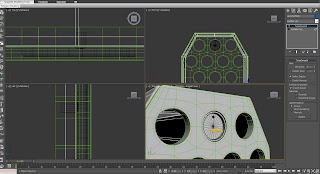
Creating some circle splines with just a few subdivisions so they are hexagonal shaped then, cutting, quick cutting and shift + dragging a few thousand times, these then form my missile ports.
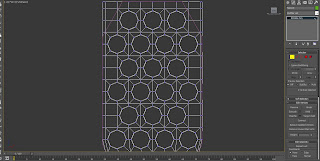
After this, I decided to show all assets in the scene so I could then extrude the back of the missile port to then slot it in the main body. Selecting the corner edges and clicking loop to select them all and scaling them slightly as so it fits snug to the body of the launcher.
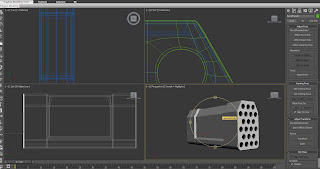
Once this was in place, it was time to make the barrel caps, this was a fairly easy task as it was creatable by just using a simple cylinder, I needed to add a higher amount of sides so the caps had a smoother look. Knowing this would increase the poly count I decided to delete the non-visible faces of the cylinder as so to negate for the increased number of sides.
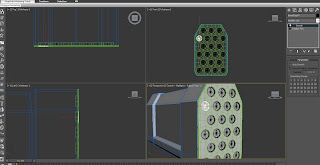
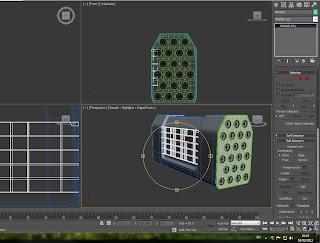
Cloning the barrel caps to fill the all of the holes is a simple task getting them lined up properly and then setting the smoothing group to '1'.
As I mentioned earlier this is a work in progress but it serves the basis for what I am looking to achieve with this model.
No comments:
Post a Comment